Home Automation Notification Lights
July 2023
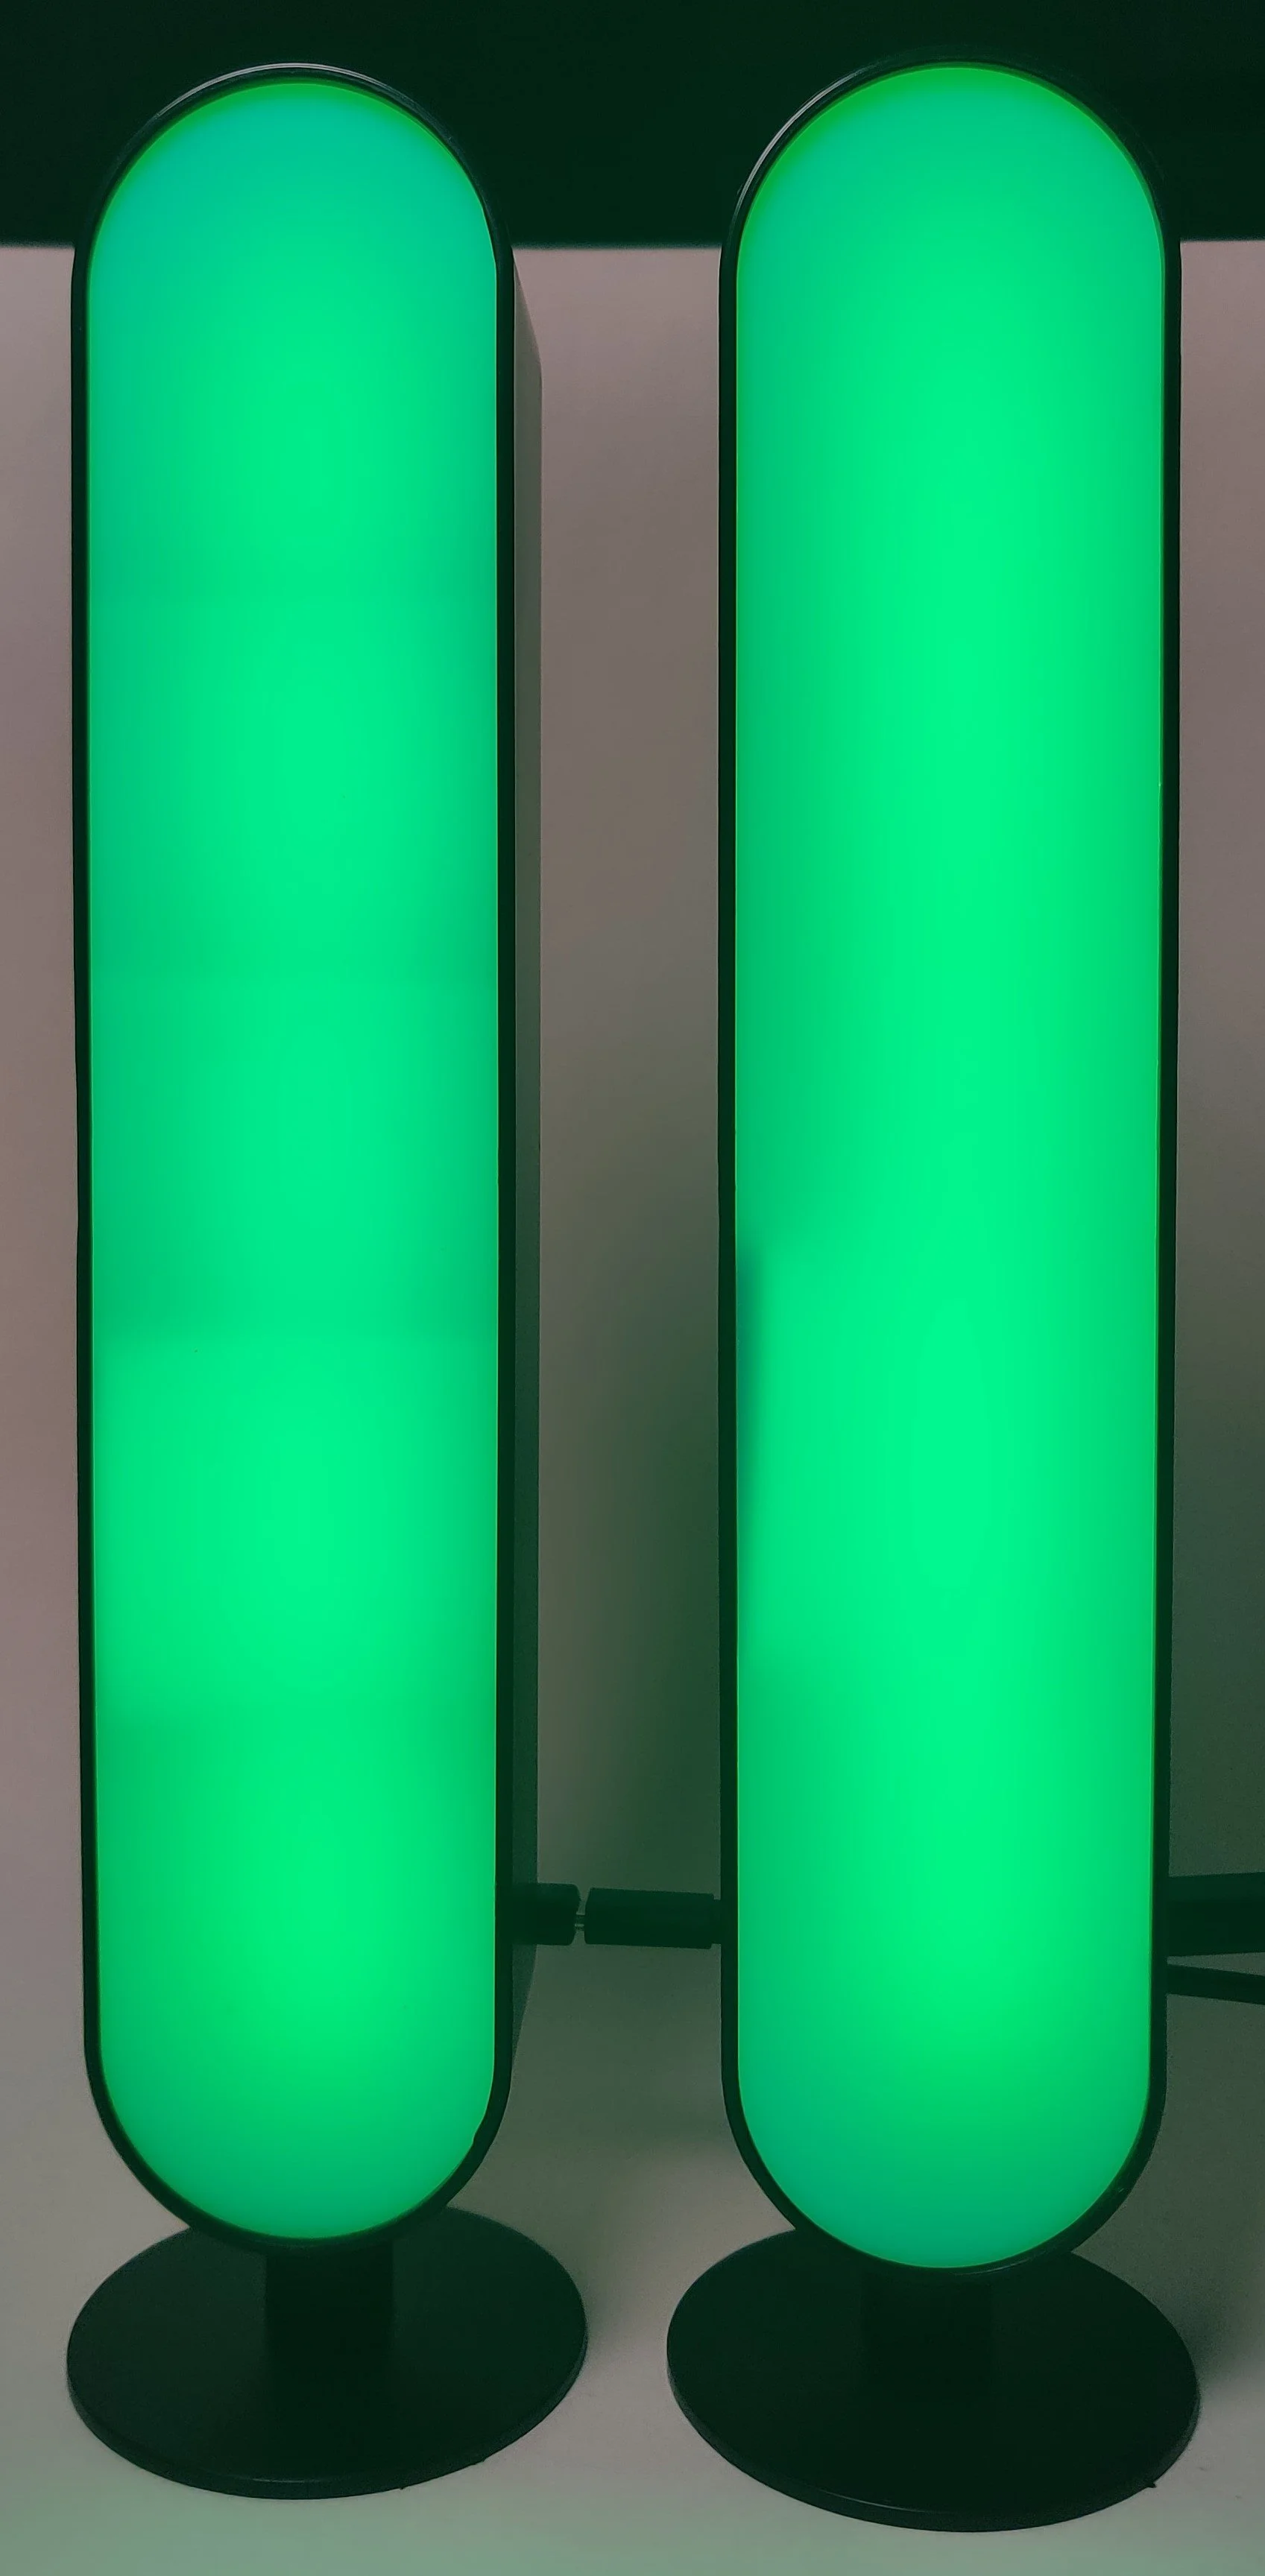
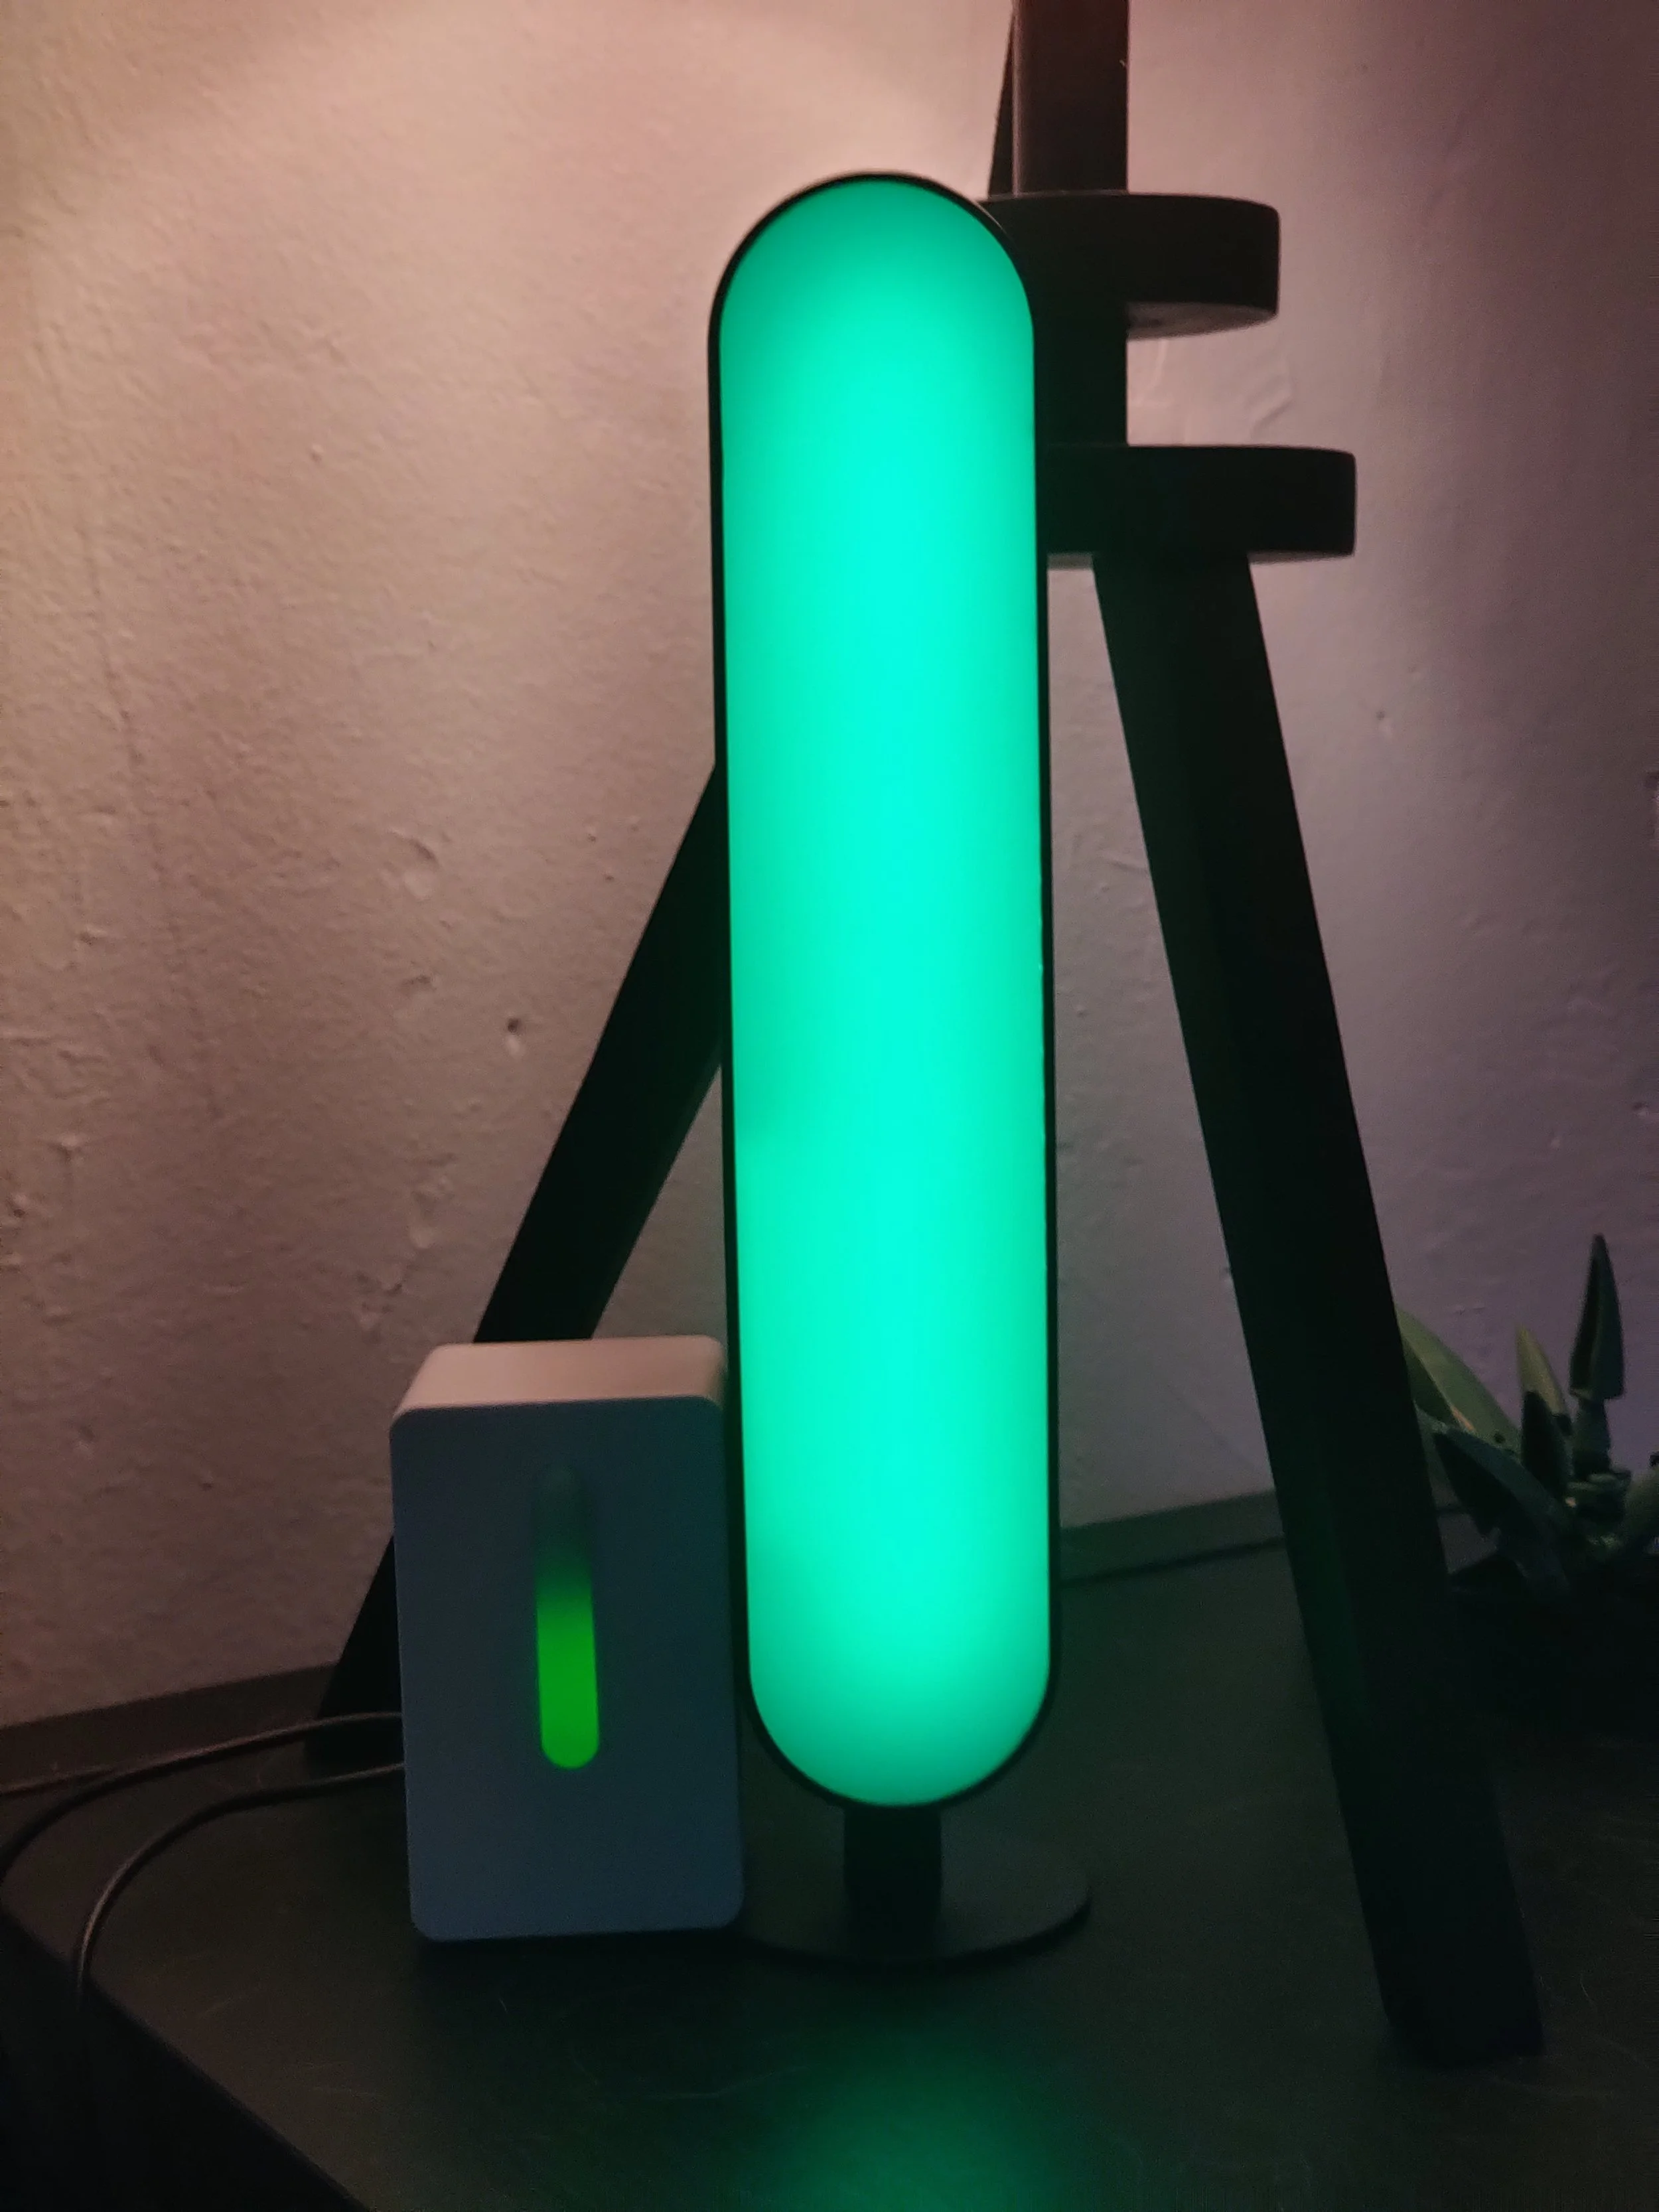
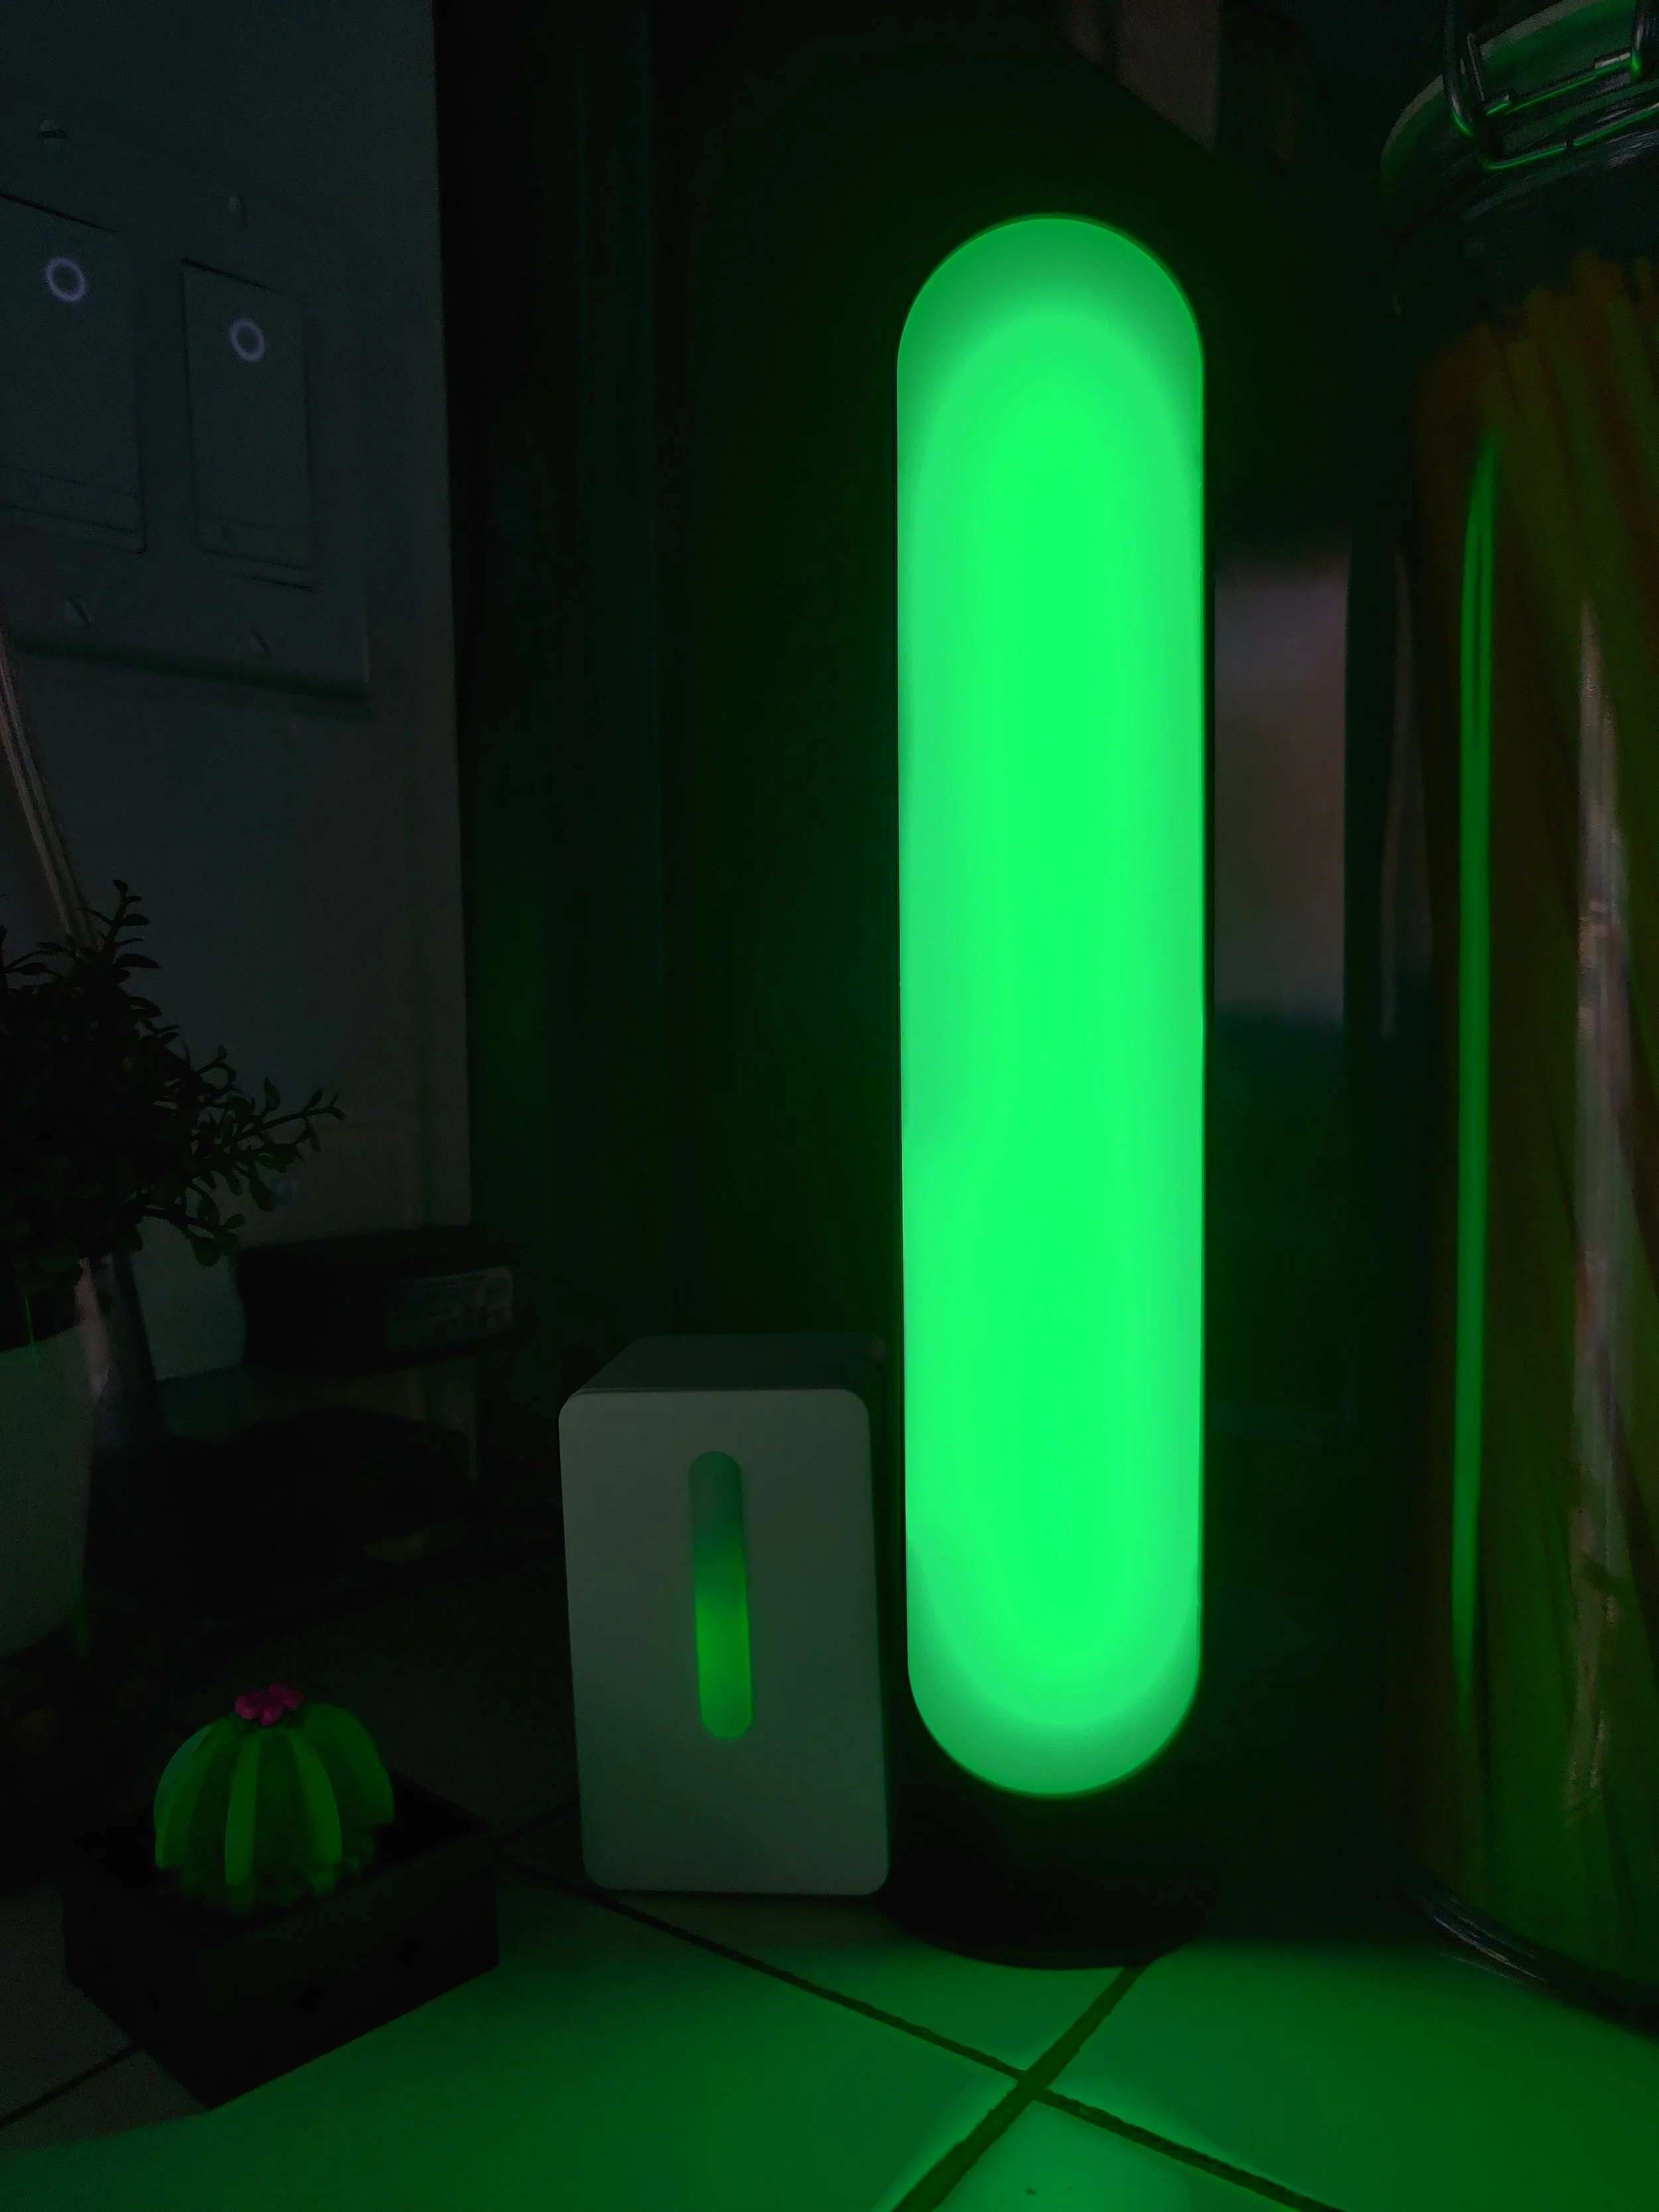
Easily see the status of a Smart Home in any room in a non invasive way.
Summary
Found the LED Light Bars while browsing Target
Opened the diffuser, removed the RGB LED strip
Cut to length and stuck down the Addressable RGB LED strip
Some have a MOSFET to control the power to the Addressable RGB LED strip
Some have a Capacitive Touch button mounted inside on the top to dismiss notifications
Connect an ESP32 to the LED strip, MOSFET, Capacitive Touch button, and the original USB-C power connector on the back
Create an ESPHome device configuration, partition the Addressable RGB LED strip into 5 segments, flash the ESP32
Parts List:
| Part Name | Unit Cost | Quantity | Part Cost | Link |
|---|---|---|---|---|
| RGB LED Bars | $15 | 1 | $15 | Target Website |
| ESP32 Mini | $5.50 | 1 | $5.50 | Amazon |
| Capacitive Touch Button | %0.50 | 1 | $0.50 | Amazon |
| Total Cost | ~$25 |
Features
-
The top section will change if chores are due or overdue.
Green - All Chores Completed
Yellow - 1 or more due chores
Red - 1 or more overdue chores
-
The section second from the top will change color if packages are expected or delivered.
Green - No deliveries
Blue - USPS, Amazon, FedEx, UPS delivery expected
Yellow - Mail or Package delivered
-
The middle section will change depending on phone state:
Green - Phone idle and charged
Blue - 1 or more notifications
Violet - Incoming call
Red - Low battery
-
The section second from the bottom will change if there are any house alerts:
Green - No alerts
Violet - Doorbell rung
Yellow - 1 or more Warning alert
Red - 1 or more Critical alert. Leak, High Room AQI
-
The bottom section will change based on the house security alarm state:
Green - Alarm armed for home or away
Blue - Alarm disarmed
Yellow - Arm pending
Red - Alarm triggered
ESPHome Configuration
esphome:
  name: notification-bar-6
  friendly_name: Notification Bar 6

esp32:
  board: esp32dev
  framework:
    type: arduino

# Enable logging
logger:

# Enable Home Assistant API
api:
  encryption:
    key:

ota:
  password:

wifi:
  ssid: !secret wifi_ssid
  password: !secret wifi_password

  manual_ip:
    static_ip:
    gateway:
    subnet:

web_server:
  port: 80

binary_sensor:
  - platform: gpio
    id: button
    name: "Button"
    pin: 35

switch:
  # Switch output to control LED strip power
  - platform: gpio
    pin:
      number: 25
      inverted: true
    id: enable
    name: "LED Strip Power"
    restore_mode: "RESTORE_DEFAULT_ON"

light:
  - platform: fastled_clockless
    chipset: WS2812B
    pin: 27
    num_leds: 30
    rgb_order: GRB
    id: led_strip
    name: "LED Strip"
    effects:
      - pulse:

  - platform: partition
    name: "Security Alarm"
    segments:
      - id: led_strip
        from: 0
        to: 5
    effects:
      - pulse:

  - platform: partition
    name: "House Alert"
    segments:
      - id: led_strip
        from: 6
        to: 11
    effects:
      - pulse:

  - platform: partition
    name: "Notification"
    segments:
      - id: led_strip
        from: 12
        to: 17
    effects:
      - pulse:

  - platform: partition
    name: "Mailbox"
    segments:
      - id: led_strip
        from: 18
        to: 23
    effects:
      - pulse:

  - platform: partition
    name: "Chores"
    segments:
      - id: led_strip
        from: 24
        to: 29
    effects:
      - pulse:


